This is jumping ahead a bit, but we’ll talk about LOD’s (level of detail). When the camera is up close to a 3D model, you want the highest resolution model available that can be supported by the game. But as you zoom out, you can’t see much of the small details anymore, so you want a simpler mesh. There are automatic tools that will do this. This process is called decimation. In Unreal Engine, you can set how small the character is on screen before switching to a different level of detail (a coarser mesh). You can then set the percentage of polygons you want from the original when creating each LOD. Usually each LOD is 50% of the polygons of the previous. So if you start with 24K triangles, LOD 1 will have 12K, LOD 2 will have 6K and so on. Usually, 3 to 5 LODs are created. But Unreal Engine supports up to 8. You want to use more LOD’s the more polygons your mesh has.
The reasons for building LOD’s are numerous. First is that you want to have your video card do less work if possible. In this game, I’m going to have many characters (robots) running around. If they each have 50K polygons, the game isn’t going to run very smoothly. And to fit them all on screen, you’re going to have to be zoomed out anyhow. So drawing 8x small meshes at LOD 3 is the same work as drawing one highly detailed mesh (LOD 0).
So let’s start with the little guy in the game.
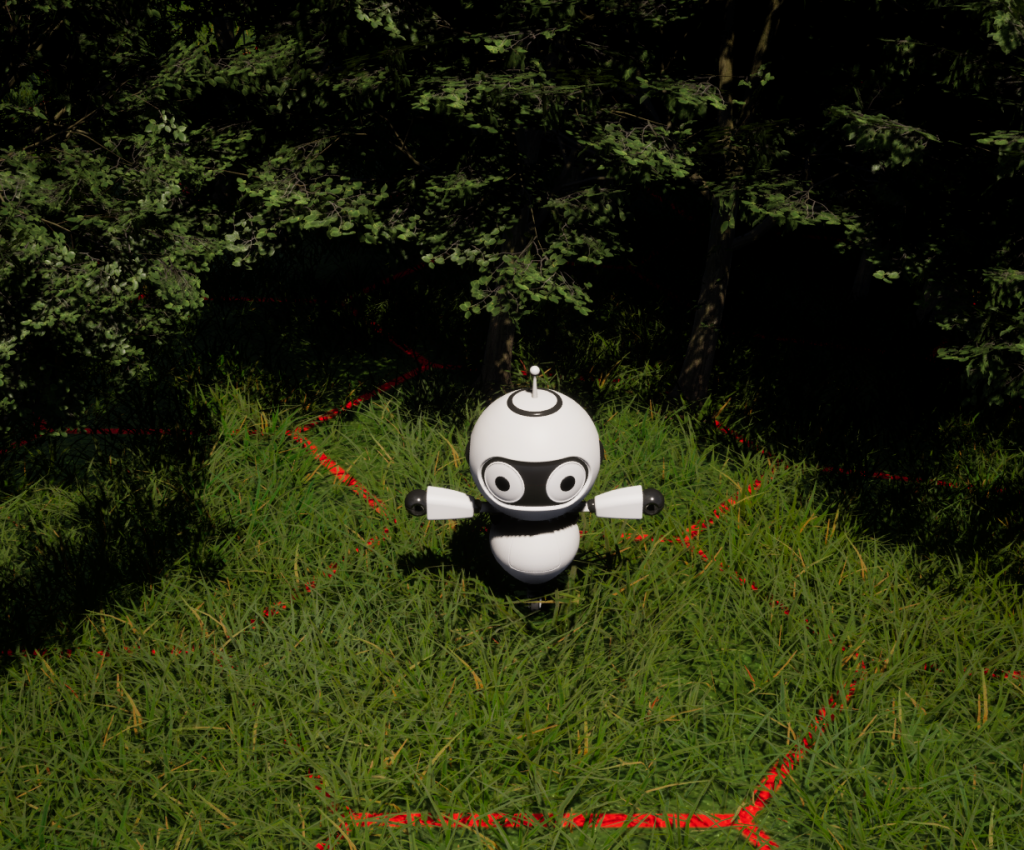
This robot is licensed asset found at DAZ 3D. I did not create it. The trees and grass are free on Unreal Engine’s Epic store. The little robot will push the grass away from him a little when he moves around. The red hex lines are just an indicator where the tiles are located. I may remove them or make them an option. There are actually 6 pie slices in each hex tile for roads, buildings, resources, etc. So it’s not fixed strictly on hex tiles. Sub-tiles can be used in the game.
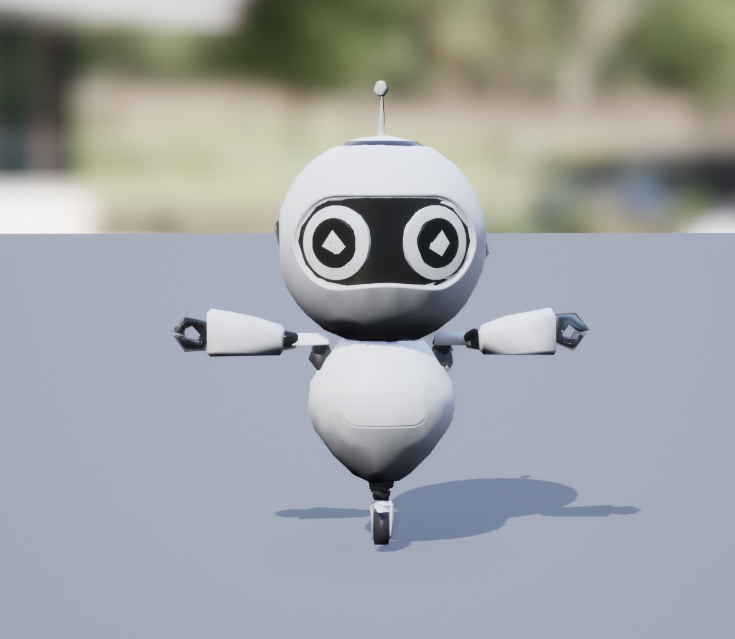
The reasons to use a robot for this game are:
- Save time creating an asset
- Don’t need to worry about leg animations
- Skinning weight maps are really simple compared to live figures (these tell what polygons to move when a bone moves).
- Starting over isn’t a big deal and since this is my first project, I expect to do that several times.
Let’s take a look what what auto generated LODs look like.
This is LOD 3 so you would never see it up close like this. The arms and rest of the body are actually fine. But the distinct feature of this robot are its eyes. And as we can see here, the eyes are all messed up. The whites of the eyes are poking through the pupil and this is very noticeable, especially considering the contrast of black and white. And this isn’t a criticism of Unreal Engine’s decimator. It’s actually quite good. I find it’s one of the best out there. It’s just that the eyes are where there are a lot of overlapping polygons. The robot also has eyelids that cover the entire eye area and this has pokethrough as well. In other LODs, it’s actually the whites of the eyes that have blacks from the mesh behind it poking through. Anywhere you have overlapping polygons, you’re going to have these kinds of issues.
So one fix is to just export the model, fix up the eyes and re-import it. It’s not that simple though. You need software that can retain the rigging, weight maps and UV maps (texturing). There are options in Unreal to only import the geometry, but I have no idea what happens to the UVs and weight maps in such a case. And in my experience, it will still complain about the rigging if the weight maps or skeleton isn’t imported back.
A nice feature about LOD’s in Unreal Engine is that each LOD is a distinct model. You can remove bones if they are too small or not used anymore. You can have different UVs and different weight maps. Sometimes, there are parts of a model that become so small, you just delete it. So those UVs are gone and so are its materials. This is one less draw call.
I use Lightwave 3D for modelling. It doesn’t support rigging though. So what I do is import the FBX file into Lightwave’s Layout software (for animations) and here I can send the model to Modeler to edit the figure and then send it back and export it back. The bone structure is somewhat different than Unreal. You have to rename all the end bones and configure it a specific way. But it lets you export it back to FBX with full rigging, weight maps, UV maps and everything. I do keep Blender in my back pocket as a fallback if all else fails.
So… with all that said, did I just fix the eyes and call it a day? 🙂
NO!
I made every single LOD by hand.
I wanted to get more practice out of the tools I was using and I love doing this stuff, so no big deal. When making LOD’s yourself, I learned one very important lesson. Keep everything you can as quads. Do NOT triangulate your mesh. Unreal Engine will convert everything to triangles, but if you want to make your life simpler, keep everything as quads where possible on the assets you work with outside of Unreal (before importing to Unreal). Why? Because if you have a mesh of quads, you’ll most often have them in a grid arrangement. If you have a section where you have a 2×2 region of quads, remove the middle horizontal edges and you’re left with two quads. Instantly reduced your mesh by 2. Do it again vertically and your mesh has been reduced by 4 from the original. You only need to fix up the areas that join up to different shapes. You can repeat this again and again until you run out of polygons. You can’t do any of this with triangles.
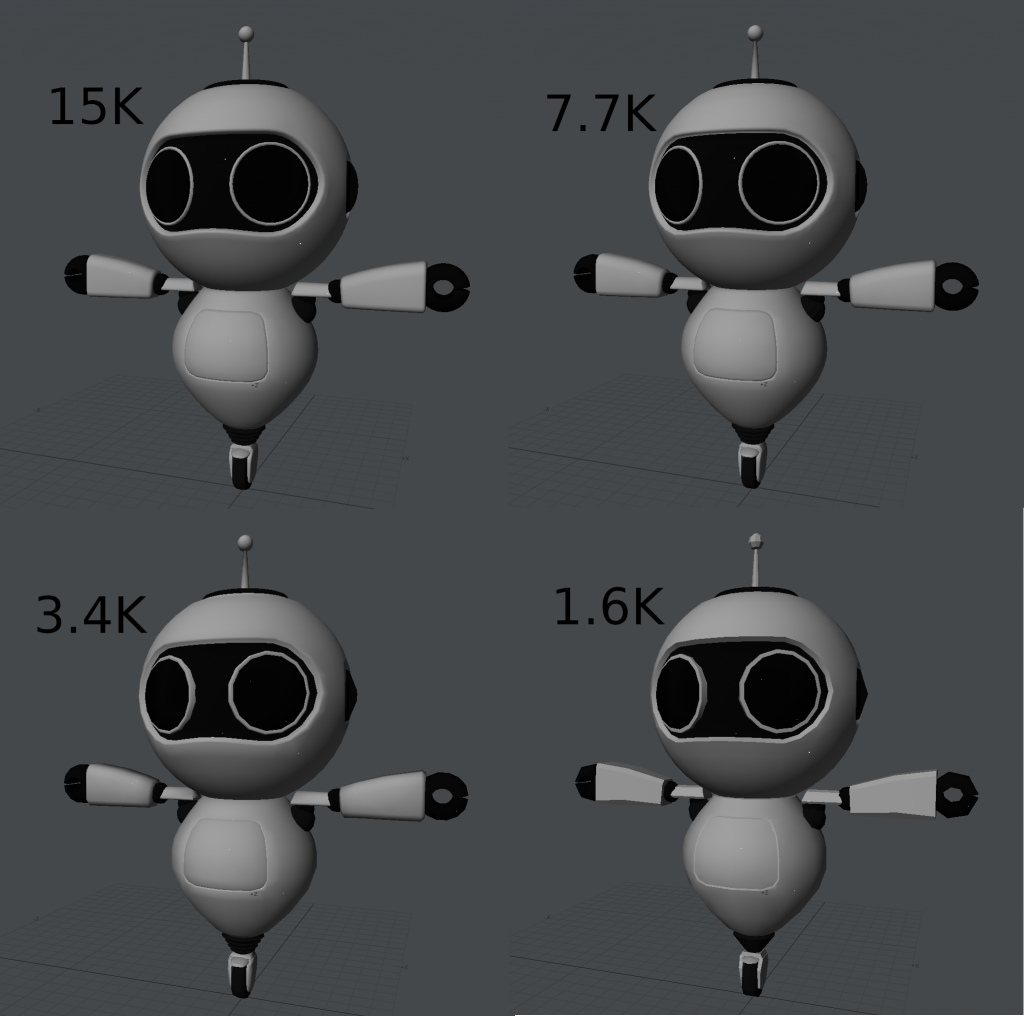
Above are LODs 0 to 3. I was somewhat surprised at how good LOD 1 looked. I may end up using it as the main mesh. Haven’t decided yet. By LOD 2 (3.4K) you can start to see degradation. And this was manually and intentionally done. When zoomed out, the eye appear perfectly circular. You really can’t tell the difference. In Unreal Engine, you can zoom out and select which LOD you want to look at so you can pick the exact screen size that the LOD will be used at.
One thing I noticed is that assets that aren’t made for games often don’t care about how many polygons they use. In this case, I simplified the ears. Originally, they had 4340 quads. I reduced it to 1200 (600 each ear). Even that was a bit much I think. Again, this is no criticism of the original artist. These assets are made for detail.
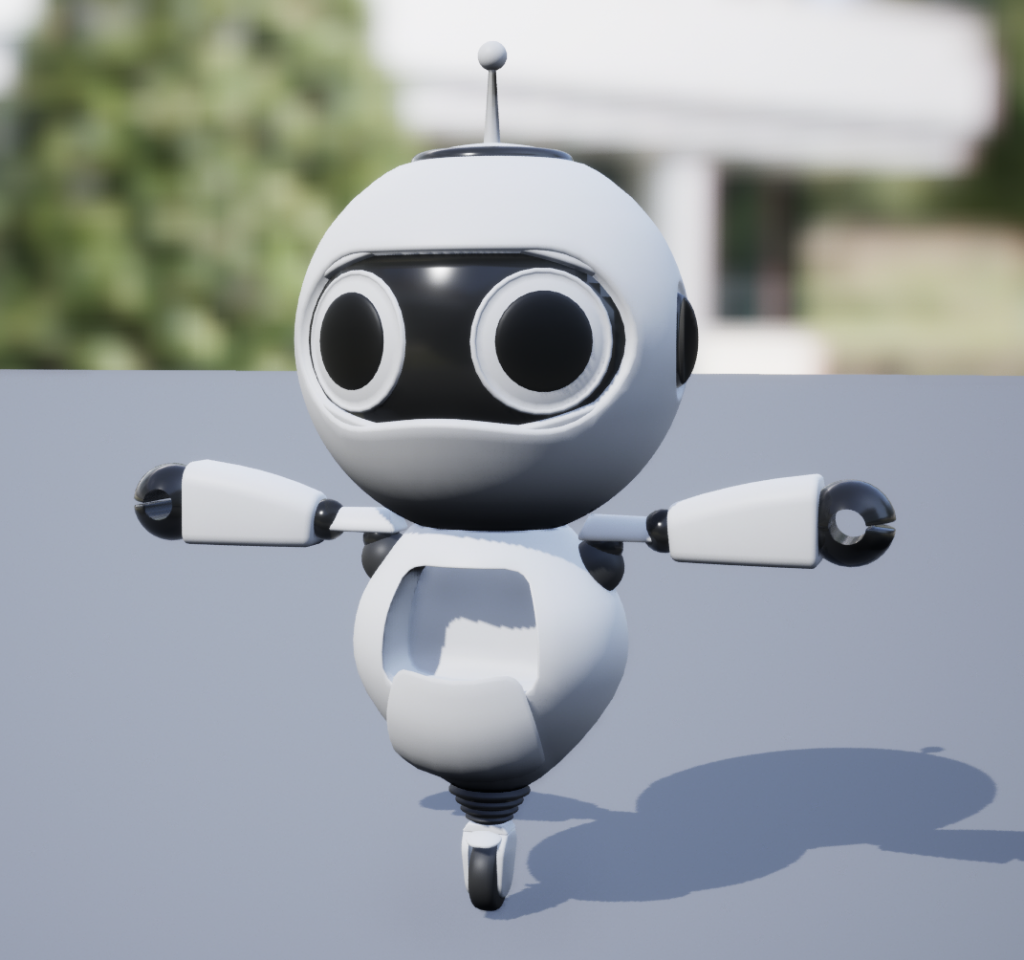
Another issue with third party assets is that often the mesh is in separate parts. IOW, sections are copy and pasted (often scaled) but not joined together. Why does this matter? Again, it’s no problem if you’re just rendering these assets. But in a game where you need to make LOD’s you can’t decimate these meshes properly. In this example, the black rubber triangular section above the wheel was 4 different sections. When decimating, it would distort or just plain disappear. Even doing it manually, it limits what edges and polygons you can remove. In LOD3 for example, I made it into a single section with only 24 polygons. Before using even the original mesh, some adjustments are needed. There was an antenna on the bottom with some ring structures. I’m guessing for a levitating robot. I’m never going to use that, so I just removed it entirely. The door on the belly was just decorations. I’m actually going to put a battery in there that will have a function in the game. So I cut out the door and added a cavity section in the torso to store the battery. I also modelled a battery that will go in there. I added UV’s for the internal section, added weight maps and added a new bone to the skeleton so that the door can open.
I may end up adding LOD 4 and 5. I’m at the limit of what I can manually remove, so I may let Unreal’s decimator take care of it and manually fix the eyes as mentioned earlier. One reason for doing at least the first two LODs is that if I decide to use LOD 1 or LOD 2 as the main mesh (it will become LOD 0) or even doing it dynamically in game for older machines, I know those LOD’s will look good. The other LOD’s aren’t as important since they will never be seen up close.
Is this the correct way to do it? I have no idea. But it was FUN!!! I find I can do at least two LODs per day. And the door enclosure and battery took another day.
As for the next entry, it might be about Megascan trees and assets and what I did to be able to chop down trees. This is a resource management game, so a tree cutter hut will have a robot in it. He will chop down trees. Another robot will bring the logs to the saw mill where another robot will saw them into planks. With planks and stones, you can build basic buildings (like said tree cutter hut and sawmill). There’s a list of resources and buildings that I’ve yet to finalize. Chopping down trees was by far the most difficult challenge. Another topic would be A* pathfinding in Unreal. That’s where the hex tiles come in. That was fun.