Have you ever wanted to add a custom collision to a static mesh you’ve already imported? Of course you have. But the only way is to add ECX_ named meshes to your FBX file and re-import. But then you can lose your settings, LODs or other things you had done. If you use multiple 3D software, you could lose the smoothing settings on your mesh. Yes, this is all avoidable. But it’d still be nice if you could just import a separate static mesh and use it as a collision mesh. The restriction that it must be a convex shape still applies. But there is a way.
We’ll go through an example.
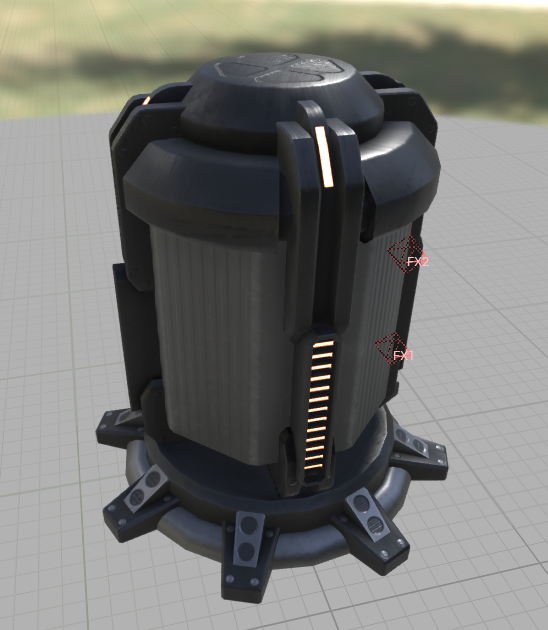
I have this fire tower that I already imported. I don’t want to mess with it and would like to just add a collision mesh to it.
First thing to do is import your FBX file that only contains the collision mesh. This is my collision mesh. Fairly simple.
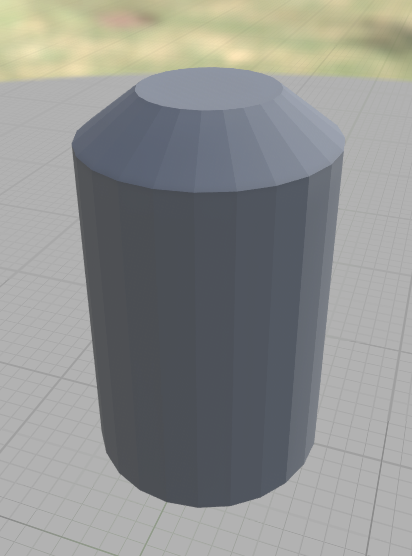
Objective is to use the geometry itself as the collision. But every single tool in Unreal Engine only copies the collision mesh. You can copy the collision mesh from one asset to the other. But you can’t use the geometry itself. Annoying, right?
So what we must do first is convert this mesh that we want to use as a collision… as the collision mesh itself. And the way we do that is by using the convex hull tool in the modeling tools. Don’t worry, it won’t be the wrapper type thing you see in the static mesh editor. It will be an exact copy.
What we do now is place an instance of your original mesh into a level. And then place an instance of your collision mesh at the exact same location.
I’ve done that here.
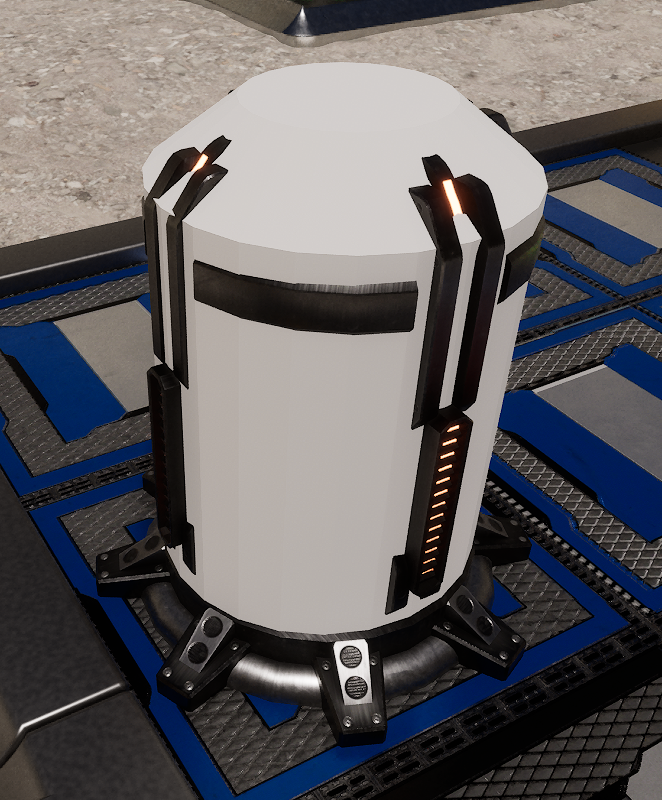
Now switch to modeling mode. This is in the dropdown at the top left of the editor where you find other tools such as landscape and foliage.

Select the collision mesh so that it is selected in the outliner.
For this step, it’s usually easier to make the original mesh invisible. So click the eye icon in the outliner on the original mesh to not have it displayed for the moment.
Select the collision mesh again.
Go into the Attribs tab and select “Mesh to Collision”.
Set Geometry type to “Convex Hulls”.
Input mode should be Per Mesh Component.
Append to Existing should be unchecked because we want to overwrite the collision data.
Now for the most important setting.
Uncheck “Simplify to Face Count”.
This will make the convex hull have the exact same geometry as the underlying mesh.
Set Collision Type should be set to “Simple and Complex”. This will let us overwrite the simple collision and complex will continue to use the original mesh.
You can toggle “Show Target Mesh” on and off to see what’s going on.
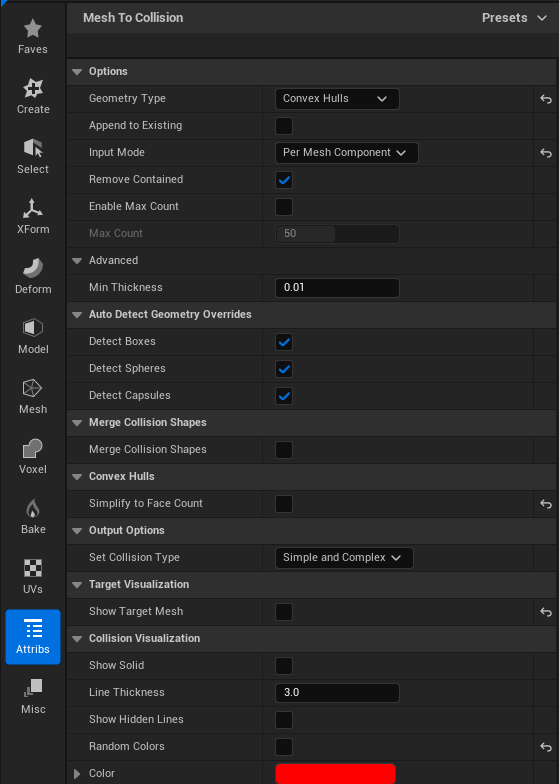
Click Accept. It’s in the middle of the screen at the bottom.
Now open up your collision mesh into the static mesh editor.
Under the eye dropdown list, check the “Simple Collision” checkbox. You can now see that the simple collision is the same as the original underlying collision geometry.
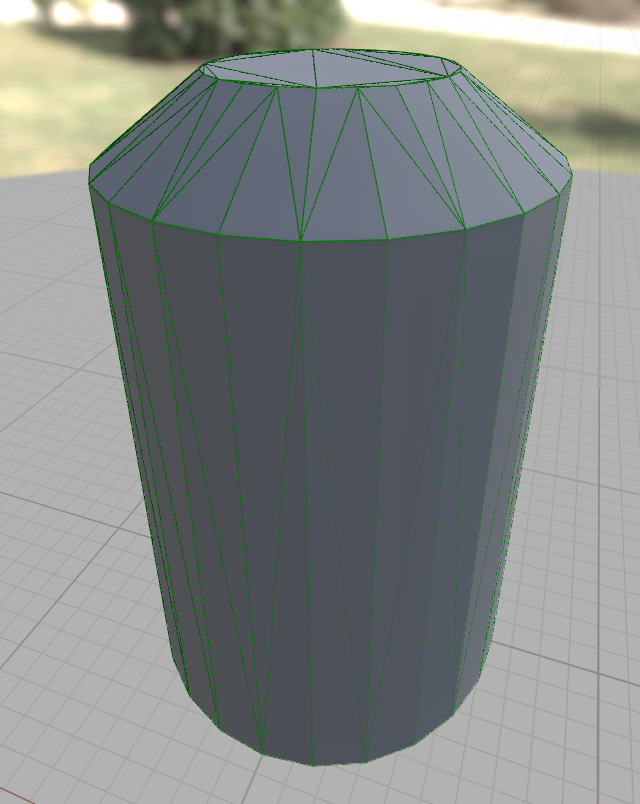
See the green lines? That’s the collision mesh. Save your mesh.
Now we can copy it to the original mesh. There are multiple way to do this. One way is using the “Copy Collision from Selected Static Mesh” menu option in the collision dropdown in the static mesh editor. But we’ll be using the modeling tools because there are more options here and we can do some interesting things.
Also, you may ask why you couldn’t just set the mesh to use Complex as Simple and copy the collision that way. I tried that. It doesn’t work. I tried almost everything. Nothing worked except the step above.
Back to the main view and still in modeling mode, make the original mesh visible again. We want to select the collision mesh FIRST. And then CTRL select the original mesh. In my case, I select the collision mesh first and then CTRL select the tower mesh.
Go into the Attribs tab again and we again select “Mesh To Collision”.
Since everything was already setup before, you can keep the existing settings that were used above and just click Accept and you’re good to go.
But let’s say your collision geometry has too many polygons. Mine has 140 polygons for example.
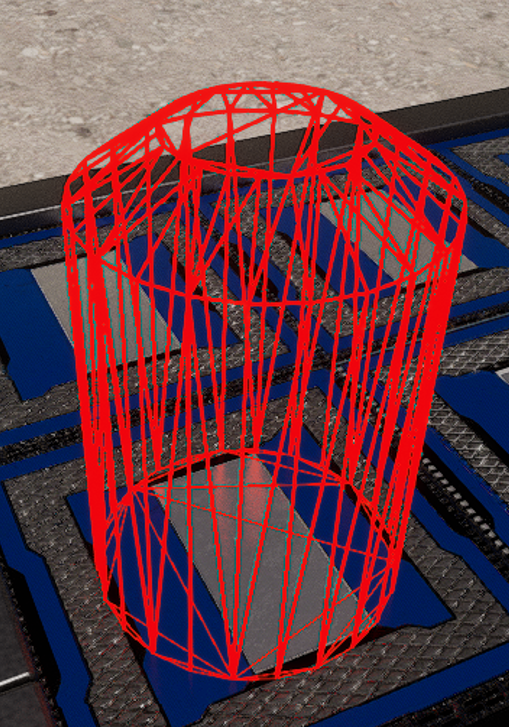
I’m now realizing this is bit too much for a collision mesh. No need to completely start over with a new mesh. The Mesh To Collision tool has a decimation feature built in (sort of). It’s actually reconstruction of the convex hull.
So check the “Simplify to Face Count” checkbox.
Now you can set the “Hull Target Face Count” to the number of polygons you want to use for your collision mesh.
I set it to 50 and it still looks good to me. You’ll have to play around with different values and see what works best for your geometry.
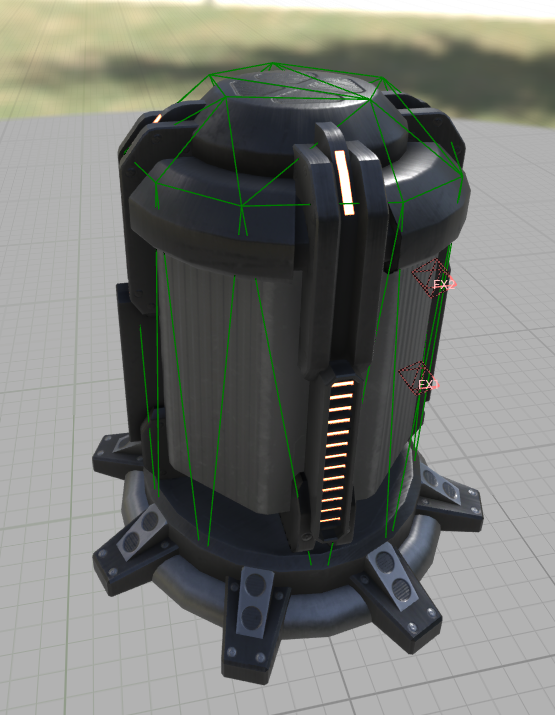
Now I have a 50 polygon simple collision mesh on my tower without having to add ECX meshes to by FBX and re-import or any of that stuff.
Hope this helps if you ever encounter this situation.
EDIT: After playing around with this some more, I found that you can skip the step where you set the collision geometry on the collision mesh. You can go straight to selecting both the collision mesh and the original mesh and using “Mesh To Collision” directly. The convex hull settings can be used the same as the last step and will work in one step instead of two. But if you want to save the collision mesh for whatever reason, both steps are still valid.
Also, wishlist my game on Steam:
